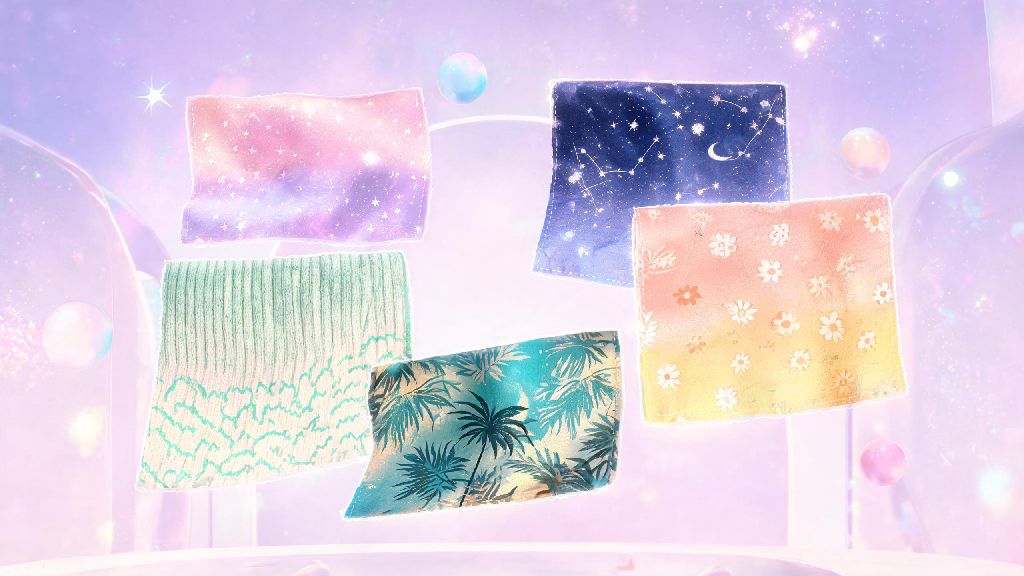
If you’ve spent hours scrolling through Infinity Nikki’s styling leaderboards and wondered how players pull off those one-of-a-kind outfit prints that no store sells, you’re not alone. I’ve spent 120+ hours messing around with the design studio feature, and I still get excited every time I unlock a new base fabric or color gradient to play with. Today, we’re breaking down exactly how to create pattern Infinity Nikki designs that stand out, get you upvotes in styling contests, and even unlock hidden achievement rewards. You don’t need any professional design experience to pull this off, either — all you need is a few unlocked base materials and 10 minutes of free time.
Prerequisites You Need Before You Create Pattern Infinity Nikki Designs
First off, you can’t jump straight into custom patterns if you haven’t unlocked the design studio feature yet. I see a lot of new players skip over the early side quests that unlock this tool, and then get frustrated when they can’t make their own prints. You’ll unlock the design studio at player level 18, after you complete the “Spring Fabric Fair” side quest in Miraland’s Heartleaf Town zone.
Once you have the studio open, you’ll want to stock up on a few basic supplies to make your first pattern as smooth as possible. I always keep these items in my inventory before I start a new design:
You don’t need to spend real money on any of these items, by the way. I’ve never bought a stencil ticket or fabric pack with premium currency, and I’ve made over 40 custom patterns so far. If you’re short on supplies, run 2-3 daily challenge stages and you’ll have everything you need in 10 minutes.
Step-by-Step Process to Make Your First Repeating Pattern
Now that you have all your supplies ready, it’s time to jump into the design studio. I’m going to walk you through making a simple repeating floral pattern first, since that’s one of the most popular prints for casual styling contests. You can adjust these steps to make any print you want, from geometric shapes to fandom-inspired logos, once you get the hang of the tools.
First, open the design studio and select the “new pattern” option from the left-hand menu. You’ll see a blank 128x128 pixel canvas — this is the tile that will repeat across your selected clothing item, so don’t worry if it looks small at first. Select your base fabric first: I recommend starting with a plain cotton base for your first pattern, since it holds color better than sheer or shiny fabrics.
Next, pick your base background color. I usually go for a soft off-white for floral patterns, but you can pick any color that fits the theme you’re going for. Pro tip: If you want your pattern to match a specific existing clothing item, use the eyedropper tool to pull the exact color from that item — this will make your custom print look like it was made for the piece, instead of looking mismatched.
Now you can add your design elements. For a floral pattern, pick the flower stencil from the basic stencil menu, place it in the top left corner of the canvas, then place the same stencil halfway across the right edge and halfway down the bottom edge. This ensures the pattern repeats seamlessly without any weird gaps when it’s applied to clothing. Once you’re happy with the placement, hit the “preview” button to see what it looks like on a sample dress. If you see any gaps or weird lines, adjust the stencil placement until it looks smooth.
When you’re done, hit save, and your pattern will be added to your custom inventory. You can apply it to any compatible clothing item from the styling menu — just look for the small paintbrush icon on the item card to see if it supports custom patterns. This simple process works for any kind of design you want to make when you create pattern Infinity Nikki prints for your wardrobe, from cute cartoon prints for casual events to elegant lace patterns for formal ball contests.
Common Mistakes to Avoid When Making Custom Patterns
I made so many mistakes when I first started making custom patterns, and I wasted a dozen stencil tickets on designs that looked terrible once I applied them to clothing. These are the most common errors I see new players make, and how you can skip the frustration.
First, don’t overload your pattern with too many small details. The canvas is small, and tiny details will turn into blurry, unrecognizable splotches when the pattern is scaled up to fit a full dress or jacket. Stick to 2-3 large, distinct design elements per pattern for the best results, and save small details for accent items like hair clips or socks.
Another common mistake is forgetting to test the pattern on different clothing types before you save it. A pattern that looks perfect on a short skirt might stretch weirdly across a long gown, or look distorted on a pair of puffy sleeves. Always preview your pattern on at least 3 different clothing types before you hit save, so you don’t waste a stencil ticket on a design that only works for one item.
You also don’t want to ignore contest theme requirements when you make patterns. I once spent 20 minutes making a bright neon cyberpunk pattern for a “vintage countryside” styling contest, and I got way fewer votes than I expected because the print didn’t fit the theme at all. Always check the current contest themes before you start a new pattern so you can make something that will get you more upvotes and better rewards.
Finally, don’t be afraid to use other players’ public patterns as inspiration, but don’t copy them exactly. The game has a report system for stolen designs, and you could lose access to the design studio if you get multiple reports for copying other people’s work. It’s fine to take ideas from popular patterns, but add your own twist to make it unique.
How to Use Your Custom Patterns to Earn More Rewards
Making cool patterns is fun on its own, but you can also use them to earn tons of extra gold, stencil tickets, and even premium currency if you know what you’re doing. I earn around 5,000 gold and 2 free stencil tickets every week just from using my custom patterns in game activities.
The easiest way to earn rewards with your patterns is to enter weekly styling contests. Most contests give a 15% score boost to entries that use custom patterns, so even if your styling isn’t perfect, you’ll get a leg up on players who use default prints. Patterns that fit the contest theme exactly will get you even higher scores — I once placed 3rd in a forest fairy contest with a custom leaf pattern dress, and I won 1,000 premium crystals as a reward.
You can also upload your patterns to the community design hub once you hit player level 25. If other players download and use your pattern, you’ll get a small gold reward for every download. I have a few popular floral patterns that have been downloaded over 2,000 times, and they earn me passive gold every week without any extra work on my part. Just make sure you tag your patterns correctly with relevant keywords so other players can find them when they search for specific themes.
If you’re feeling extra creative, you can also make custom pattern sets for specific story stages. Many story stages have hidden requirements for specific print types, and using a custom pattern that fits that requirement will unlock extra dialogue and hidden chest rewards. I’ve unlocked 3 rare outfit pieces just by making custom patterns that fit hidden story stage requirements.
You don’t need to be a professional artist to make high-quality, useful custom prints for your Infinity Nikki wardrobe. With a few basic supplies and a little bit of practice, you’ll be able to make designs that fit every contest theme, match your favorite outfit pieces, and earn you extra rewards every week. The best part about learning how to create pattern Infinity Nikki designs is that there’s no right or wrong way to do it — you can experiment with different colors, stencils, and layouts until you find a style that feels totally yours. Next time you have a few minutes of free time while waiting for your stamina to refill, pop into the design studio and try making your first pattern — you might be surprised at how much fun it is.